Domain Mapping
Table of Contents

Create Conf File
Enter a new filename.conf and click the Create button.
Give your file a name that will make it easy to identify, such as mydomain.conf
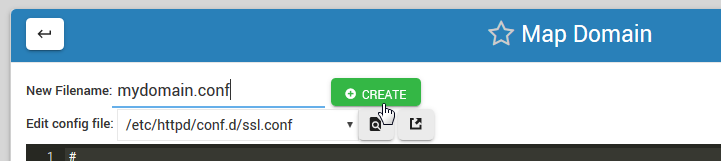
Click the Create button.
The Create button will load the template below.
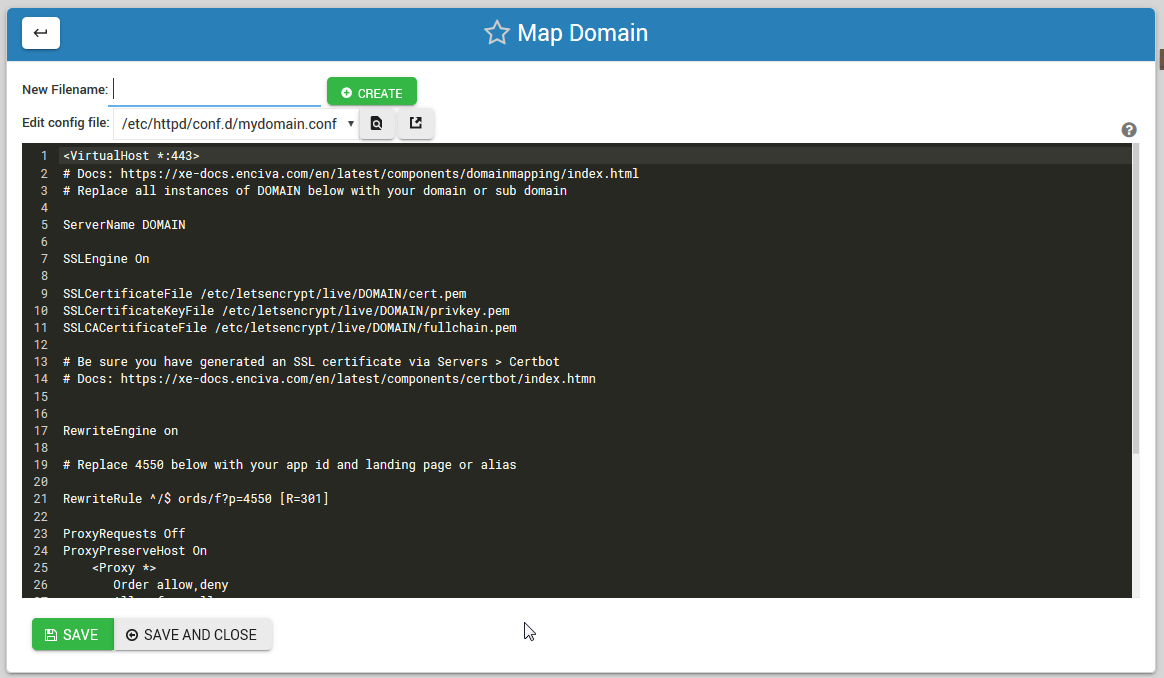
The template is commented.
- Replace all instances of DOMAIN with the domain or sub domain you wish to map.
- Replace ‘4550’ to the app id and landing page (or page alias).
1 2 3 4 5 6 7 8 9 10 11 12 13 14 15 16 17 18 19 20 21 22 23 24 25 26 27 28 29 30 31 32 33 34 35 | <VirtualHost *:443>
# Docs: https://xe-docs.enciva.com/en/latest/components/domainmapping/index.html
# Replace all instances of DOMAIN below with your domain or sub domain
ServerName DOMAIN
SSLEngine On
SSLCertificateFile /etc/letsencrypt/live/DOMAIN/cert.pem
SSLCertificateKeyFile /etc/letsencrypt/live/DOMAIN/privkey.pem
SSLCACertificateFile /etc/letsencrypt/live/DOMAIN/fullchain.pem
# Be sure you have generated an SSL certificate via Servers > Certbot
# Docs: https://xe-docs.enciva.com/en/latest/components/certbot/index.htmn
RewriteEngine on
# Replace 4550 below with your app id and landing page or alias
RewriteRule ^/$ ords/f?p=4550 [R=301]
ProxyRequests Off
ProxyPreserveHost On
<Proxy *>
Order allow,deny
Allow from all
</Proxy>
SSLProxyEngine On
SSLProxyCheckPeerCN off
SSLProxyCheckPeerName off
SSLProxyVerify none
ProxyPass / https://localhost:8443/ connectiontimeout=300 timeout=600
ProxyPassReverse / https://localhost:8443/
</VirtualHost>
|
Restart HTTPD
For the mapping to take effect, you must restart Apache HTTPD server.
This can be done via Servers > Apache Webserver in your control panel.
It can also be done via command line using:
service httpd restart
